World Map: Difference between revisions
(Created page with "==The World Map== The World Map is an important part of Elvenar, so you will visit it quite frequently. It consists of many different provinces and other towns which surroun...") |
|||
| (200 intermediate revisions by 7 users not shown) | |||
| Line 1: | Line 1: | ||
[[Category:Help]] | |||
{{Template:MenuBuildings_Overview}} | |||
The World Map is an important part of Elvenar, so you will visit it quite frequently. | ===The World Map=== | ||
Elvenar is a mysterious world full of secrets, but it is also peaceful. So don’t hesitate to get in touch with your | The World Map is an important part of Elvenar, so you will visit it quite frequently. | ||
While exploring the World Map you will discover many different Provinces and other players' cities surrounding your own. | |||
Elvenar is a mysterious world full of secrets, but it is also peaceful. So don’t hesitate to get in touch with your neighbors and the area around you. Actually, you can visit any city, right from the start. | |||
[[File:NewMap.png|700px|center]] | |||
<br> | |||
[[File:WorldMap_bottom_bar.png|center]] | |||
<br> | |||
{| style="text-align: center" | |||
|- | |||
!Number | |||
!Icon | |||
!Description | |||
|- | |||
|1 | |||
|Scouting | |||
|When a Scout is active it sends you to the Province being scouted. | |||
|- | |||
|2 | |||
|Provinces Overview | |||
|Opens a window that gives you information on all Scoutable and Incomplete Provinces. See '''[[World Map#Provinces Overview|Provinces Overview]]''' below. | |||
|- | |||
|3 | |||
|Navigate to City | |||
|Takes you back your own City position on the World Map. | |||
|- | |||
|4 | |||
|Relic Overview | |||
|Opens a window that shows all your Collected Relics and Production Boosts. Hover-over tooltip gives a quick view of Relics required for Boost Upgrade. | |||
|- | |||
|5 | |||
|Return Home | |||
|Takes you back to your City. | |||
|- | |||
|6 | |||
|Research | |||
|Opens the Research Tech Tree. | |||
|- | |||
|7 | |||
|World Map | |||
|Takes you to the World Map. Shows a small Tournament icon during Tournaments. | |||
|- | |||
|8 | |||
|Tournament | |||
|Available when you belong to a Fellowship. During a Tournament it takes you to the current Tournament Window. | |||
|} | |||
===Scouting Provinces=== | ===Scouting Provinces=== | ||
When you enter the World Map for the first time, you will immediately notice that most of the world is still unknown to you. In fact, the | When you enter the World Map for the first time, you will immediately notice that most of the world is still unknown to you. In fact, the World Map is not much more than a rough draft, at the beginning. However, you can frequently send Scouts to bordering Provinces in order to gain more information about them. The Scouts will tell you how easy or hard it will be to scout a Province and will demand a lot of Coins for their efforts, but they are definitely worth the price. | ||
[[File:scout_palette.png|center]] | |||
Hover over the Province to see the cost of scouting: | |||
[[File:hover_cost.png|center]] | |||
Click the Province to open the Scout's Note: | |||
[[File:scouts_note.png|center]] | |||
Once their work is done, the | Click the Scout button to commence scouting: | ||
[[File:scouting.png|center]] | |||
Once their work is done, the scouted Province gets a lot more detail and color. But most importantly, you can take a look inside it and search for [[Relics|Relics]]. | |||
In addition, all bordering cities of that Province will also become "discovered". As a result, trading with those neighbors becomes cheaper and you will be able to start giving them [[Neighborly Help|Neighborly Help]]. | |||
{|align="center" cellpadding="1" width="100%" | |||
|style="background-color:#af895f;"|'''Hint:''' It is advisable to scout only the number of Provinces needed for the next chapter in the Research Tree. The cost for fighting or trading to complete the Province will increase with each newly scouted Province. And in later Provinces, you will need Orcs to be able to "negotiate" (produced in Armories level 20 and above). | |||
|} | |||
===Provinces=== | |||
When you enter a Province you previously scouted, you can see more detailed information about it. While on their mission of discovery, your Scouts will spot interesting people and will mark their location with an exclamation mark. | |||
[[File:Scouted_Province.png|650px|center]] | |||
At first, all Provinces may look alike, but, if you look closely, you will see each Province type has its own special terrain, depending on the '''[[Relics|Relics]]''' it contains. | |||
You may collect those Relics either by negotiating an Encounter or fighting it. But, be aware, the enemy units you will find on each Province type will also differ, so, be prepared! | |||
{| style="text-align: center" | |||
!colspan="3"|Provinces Overview | |||
|- | |||
|Basic Goods | |||
|Refined Goods | |||
|Precious Goods | |||
|- | |||
|[[File:Province_type_Marble.png|150px|Province of Marble]] | |||
|[[File:Province_type_Crystal.png|150px|Province of Crystal]] | |||
|[[File:Province_type_Elixir.png|150px|Province of Elixir]] | |||
|- | |||
|[[File:Province_type_Steel.png|150px|Province of Steel]] | |||
|[[File:Province_type_Scrolls.png|150px|Province of Scrolls]] | |||
|[[File:Province_type_MagicDust.png|150px|Province of Magic Dust]] | |||
|- | |||
|[[File:Province_type_Planks.png|150px|Province of Planks]] | |||
|[[File:Province_type_Silk.png|150px|Province of Silk]] | |||
|[[File:Province_Gems.png|150px|Province of Gems]] | |||
|} | |||
=== Province Distance === | |||
The further you go, deep into the World Map, the more distant you get from your city. This means that not only will Scouts take longer to reach far away Provinces, but also it will cost you more Coins to scout them. | |||
The Province Distance will also influence the [[Ranking|ranking points]] you get by solving each Encounter. You will get 1 ranking point per Encounter * Province Distance. For example, if you solve an Encounter in a Province, 3 Provinces away from your city (Distance 3), you will get 3 ranking points. | |||
Fighting and negotiating will get progressively harder the further away you get from your city, requiring that you need to keep upgrading your city to cope with the demands. | |||
[[File:Provincias.jpg|650px|center]] | |||
{|align="center" cellpadding="1" width="100%" | |||
|style="background-color:#af895f;|'''Hint:'''After entering each province sector you will be able to see how far that province is by looking at the ranking points it will give you when finishing the encounter successfully. | |||
|} | |||
===Collecting Relics=== | ===Collecting Relics=== | ||
On each Province, you will meet a merchant who may offer you a [[Relics|Relic]]. And you just can’t have enough of these magical objects! But of course, they will come at a price. You may take the merchant's offer or maybe, you can find a way to use your troops to get the [[Relics|Relic]] and save your resources. It’s up to you! | |||
No matter how you get the [[Relics|Relic]], it will always increase your knowledge! In other words, for every Encounter you solve, you will receive a Knowledge Point you can spend in Research Tree, to unlock technologies faster, or invest in [[Ancient Wonders]]. The World Map is a great source of knowledge, you will see! | |||
[[File:Solved_encounter.png|center]] | |||
{|align="center" cellpadding="1" width="100%" | |||
|style="background-color:#af895f;|'''Hint:'''By collecting [[Relics]] you can also increase the production boost for your [[Manufactories#Production_Boost|boosted Goods]]. | |||
|} | |||
===Completing Provinces=== | |||
By completing Provinces you can also get additional rewards: Province Expansions and/or Rune Shards. | |||
*You will receive a [[Expansions#Province_Expansions_Overview|Province Expansion]] as a reward when you solve all encounters of a certain number of Provinces. A tooltip in the Buildings Menu, on the [[Expansions#Province_Expansions_Overview|Province Expansion]], will show you how many “Completed Provinces” you have and how many are “Required for the next Expansion.” | |||
*After researching the first Ancient Wonders' Technology, every time you complete a province you will also get a random Rune Shard for one of the unlocked buildings, which you can find in the Ancient Wonders' Menu. | |||
[[File:reward_.png|center]] | |||
===Provinces Overview=== | |||
[[File:Provinces_overview_scoutable.png|center]] | |||
When you open the Provinces Overview, the Scoutable tab shows you: | |||
* The direction of the Province on your map. | |||
* The Encounter Ranking Points value. | |||
* The type of Province (Marble, Crystal, Elixir, etc.). | |||
* The difficulty to scout the Province: Very Easy - Very Hard. | |||
* The Scout's Note or whether it is still locked. | |||
You can also Navigate to each Province. | |||
[[File:Provinces_overview_incomplete.png|center]] | |||
In addition, the Incomplete tab shows you: | |||
* The number of completed Encounters in each Province [[File:Completed_Encounters.png]] | |||
===Neighboring Cities=== | |||
As said before, by exploring the World Map, you can both scout Provinces and visit every city right from the beginning! | |||
You can take a look into other players' cities, in order to get inspiration for your own, but once you "discover" those cities, you will also be able to give them [[Neighborly Help|Neighborly Help]]. | |||
At a certain point in the game, if you take a closer look, you may notice each neighbor has a different image representing their city. This is due to the fact that, when a player reaches a new Chapter, the map reflects the city´s development. | |||
The | {| style="text-align: center" | ||
!colspan="5"|Cities Overview Elves | |||
|- | |||
|[[File:Elves_City1.png|120px|Chapter I - The Arrival]] | |||
|[[File:Elves_City2.png|120px|Chapter II - Evolving]] | |||
|[[File:Elves_City3.png|120px|Chapter III - Ascending Magic]] | |||
|- | |||
|[[File:Elves_City4.png|120px|Chapter IV - Wisdom and Wonders]] | |||
|[[File:Elves_City5.png|120px|Chapter V - A Path to Heritage]] | |||
|[[File:Elves_City6.png|120px|Chapter VI - A Portal to the Past]] | |||
|- | |||
|[[File:Elves_City7.png|120px|Chapter VII - Blossoms of Promise]] | |||
|[[File:Elves_City8.png|120px|Chapter VIII - Mud and Mushrooms]] | |||
|[[File:Elves_City9.png|120px|Chapter IX - Natives of the Continent]] | |||
|- | |||
|[[File:Elves_City10.png|120px|Chapter X - The Elvarian Sorcerers Society]] | |||
|[[File:Elves_City11.png|120px|Chapter XI - Halflings]] | |||
|[[File:Elves_City12.png|120px|Chapter XII - Elementals]] | |||
|- | |||
|[[File:Elves_City13.png|120px|Chapter XIII - Amuni]] | |||
|[[File:Elves_City14.png|120px|Chapter XIV - Constructs]] | |||
|[[File:Elves_City15.png|120px|Chapter XV - The Elvenar]] | |||
|- | |||
|[[File:Elves_City16.png|120px|Chapter XVI - Embassies]] | |||
|[[File:Elves_City17.png|120px|Chapter XVII - Traders of Unur]] | |||
|[[File:Elves_City18.png|120px|Chapter XVIII - Team Spirit]] | |||
|- | |||
|[[File:Elves_City19.png|120px|Chapter XIX - Revenge of the Exile]] | |||
|[[File:Elves_City20.png|120px|Chapter XX - The Power of Music]] | |||
|[[File:Elves_City21.png|120px|Chapter XXI - The Vallorian Legend]] | |||
|- | |||
|} | |||
{| style="text-align: center" | {| style="text-align: center" | ||
!colspan=" | !colspan="5"|Cities Overview Humans | ||
|- | |||
|[[File:Human_City_1.png|120px|Chapter I - The Arrival]] | |||
|[[File:Human_City_2.png|120px|Chapter II - Evolving]] | |||
|[[File:Human_City_3.png|120px|Chapter III - Ascending Magic]] | |||
|- | |||
|[[File:Human_City_4.png|120px|Chapter IV - Wisdom and Wonders]] | |||
|[[File:Human_City_5.png|120px|Chapter V - A Path to Heritage]] | |||
|[[File:Humans_City6.png|120px|Chapter VI - A Portal to the Past]] | |||
|- | |||
|[[File:Humans_City7.png|120px|Chapter VII - Blossoms of Promise]] | |||
|[[File:Humans_City8.png|120px|Chapter VIII - Mud and Mushrooms]] | |||
|[[File:Humans_City9.png|120px|Chapter IX - Natives of the Continent]] | |||
|- | |||
|[[File:Humans_City10.png|120px|Chapter X - The Elvarian Sorcerers Society]] | |||
|[[File:Humans_City11.png|120px|Chapter XI - Halflings]] | |||
|[[File:Humans_City12.png|120px|Chapter XII - Elementals]] | |||
|- | |- | ||
|[[File:Humans_City13.png|120px|Chapter XIII - Amuni]] | |||
|[[File:Humans_City14.png|120px|Chapter XIV - Constructs]] | |||
|[[File:Humans_City15.png|120px|Chapter XV - The Elvenar]] | |||
|- | |- | ||
| | |[[File:Humans_City16.png|120px|Chapter XVI - Embassies]] | ||
| | |[[File:Humans_City17.png|120px|Chapter XVII - Traders of Unur]] | ||
| | |[[File:Humans_City18.png|120px|Chapter XVIII - Team Spirit]] | ||
|- | |- | ||
| | |[[File:Humans_City19.png|120px|Chapter XIX - Revenge of the Exile]] | ||
| | |[[File:Humans_City20.png|120px|Chapter XX - The Power of Music]] | ||
| | |[[File:Humans_City21.png|120px|Chapter XXI - The Vallorian Legend]] | ||
|- | |- | ||
| | |} | ||
| | ===Tournaments=== | ||
The World Map is also the place where '''[[Tournaments]]''' take place! You can enter them only if you belong to a [[Fellowships|Fellowship]]. | |||
Every week, [[Tournaments|Tournament Events]] take place in your solved provinces of one type, which will rotate every week. This is also a great opportunity for you to get additional Relics, Knowledge Points and Rune Shards and, if you are one of the best, additional [[Ranking]] Points! | |||
Latest revision as of 21:19, 5 January 2024
|
The World Map
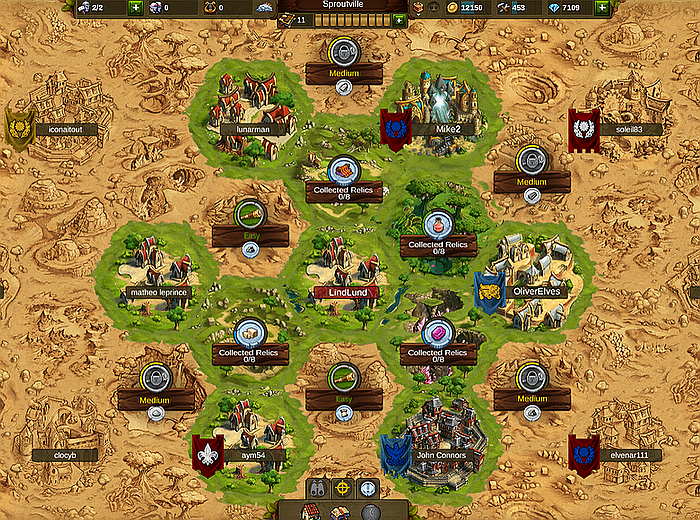
The World Map is an important part of Elvenar, so you will visit it quite frequently.
While exploring the World Map you will discover many different Provinces and other players' cities surrounding your own. Elvenar is a mysterious world full of secrets, but it is also peaceful. So don’t hesitate to get in touch with your neighbors and the area around you. Actually, you can visit any city, right from the start.
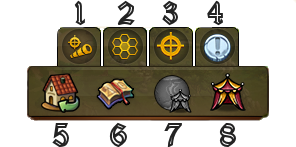
| Number | Icon | Description |
|---|---|---|
| 1 | Scouting | When a Scout is active it sends you to the Province being scouted. |
| 2 | Provinces Overview | Opens a window that gives you information on all Scoutable and Incomplete Provinces. See Provinces Overview below. |
| 3 | Navigate to City | Takes you back your own City position on the World Map. |
| 4 | Relic Overview | Opens a window that shows all your Collected Relics and Production Boosts. Hover-over tooltip gives a quick view of Relics required for Boost Upgrade. |
| 5 | Return Home | Takes you back to your City. |
| 6 | Research | Opens the Research Tech Tree. |
| 7 | World Map | Takes you to the World Map. Shows a small Tournament icon during Tournaments. |
| 8 | Tournament | Available when you belong to a Fellowship. During a Tournament it takes you to the current Tournament Window. |
Scouting Provinces
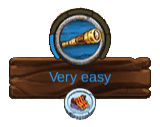
When you enter the World Map for the first time, you will immediately notice that most of the world is still unknown to you. In fact, the World Map is not much more than a rough draft, at the beginning. However, you can frequently send Scouts to bordering Provinces in order to gain more information about them. The Scouts will tell you how easy or hard it will be to scout a Province and will demand a lot of Coins for their efforts, but they are definitely worth the price.
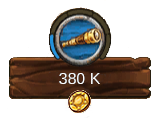
Hover over the Province to see the cost of scouting:
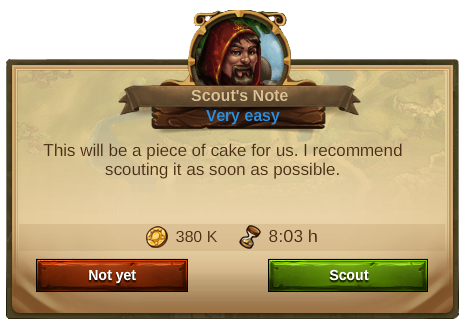
Click the Province to open the Scout's Note:
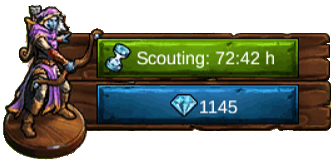
Click the Scout button to commence scouting:
Once their work is done, the scouted Province gets a lot more detail and color. But most importantly, you can take a look inside it and search for Relics.
In addition, all bordering cities of that Province will also become "discovered". As a result, trading with those neighbors becomes cheaper and you will be able to start giving them Neighborly Help.
| Hint: It is advisable to scout only the number of Provinces needed for the next chapter in the Research Tree. The cost for fighting or trading to complete the Province will increase with each newly scouted Province. And in later Provinces, you will need Orcs to be able to "negotiate" (produced in Armories level 20 and above). |
Provinces
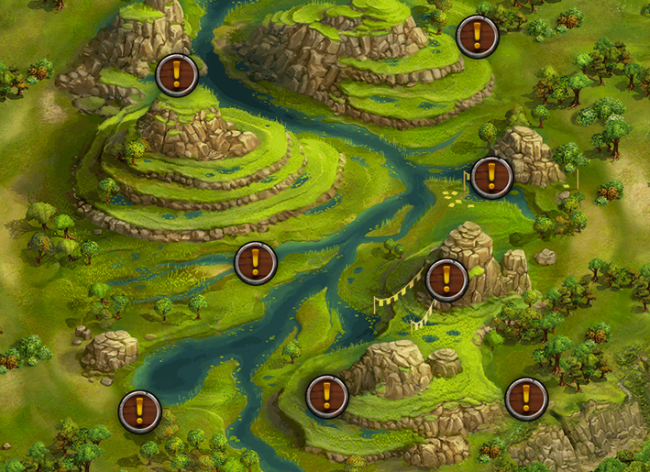
When you enter a Province you previously scouted, you can see more detailed information about it. While on their mission of discovery, your Scouts will spot interesting people and will mark their location with an exclamation mark.
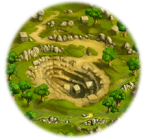
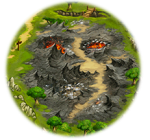
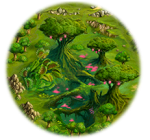
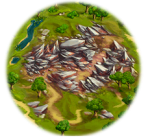
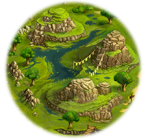
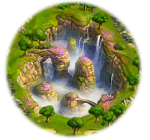
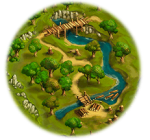
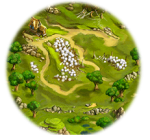
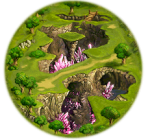
At first, all Provinces may look alike, but, if you look closely, you will see each Province type has its own special terrain, depending on the Relics it contains.
You may collect those Relics either by negotiating an Encounter or fighting it. But, be aware, the enemy units you will find on each Province type will also differ, so, be prepared!
| Provinces Overview | ||
|---|---|---|
| Basic Goods | Refined Goods | Precious Goods |
|
|
|
|
|
|
|
|
|
Province Distance
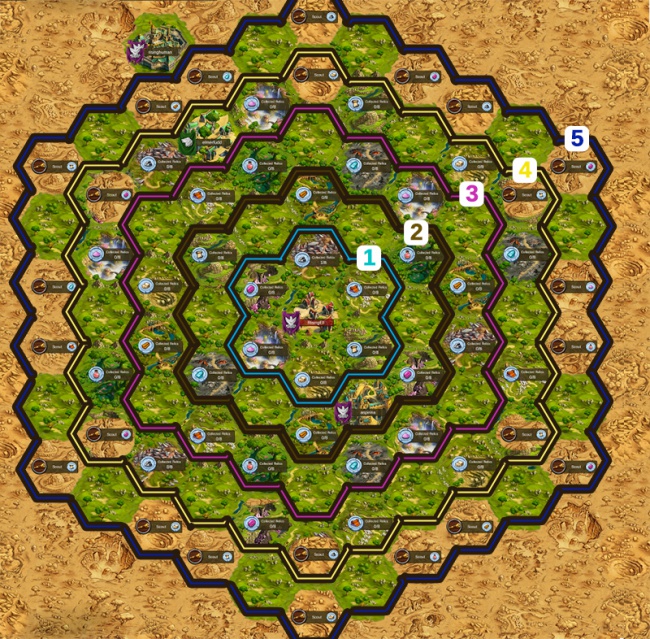
The further you go, deep into the World Map, the more distant you get from your city. This means that not only will Scouts take longer to reach far away Provinces, but also it will cost you more Coins to scout them.
The Province Distance will also influence the ranking points you get by solving each Encounter. You will get 1 ranking point per Encounter * Province Distance. For example, if you solve an Encounter in a Province, 3 Provinces away from your city (Distance 3), you will get 3 ranking points.
Fighting and negotiating will get progressively harder the further away you get from your city, requiring that you need to keep upgrading your city to cope with the demands.
| Hint:After entering each province sector you will be able to see how far that province is by looking at the ranking points it will give you when finishing the encounter successfully. |
Collecting Relics
On each Province, you will meet a merchant who may offer you a Relic. And you just can’t have enough of these magical objects! But of course, they will come at a price. You may take the merchant's offer or maybe, you can find a way to use your troops to get the Relic and save your resources. It’s up to you!
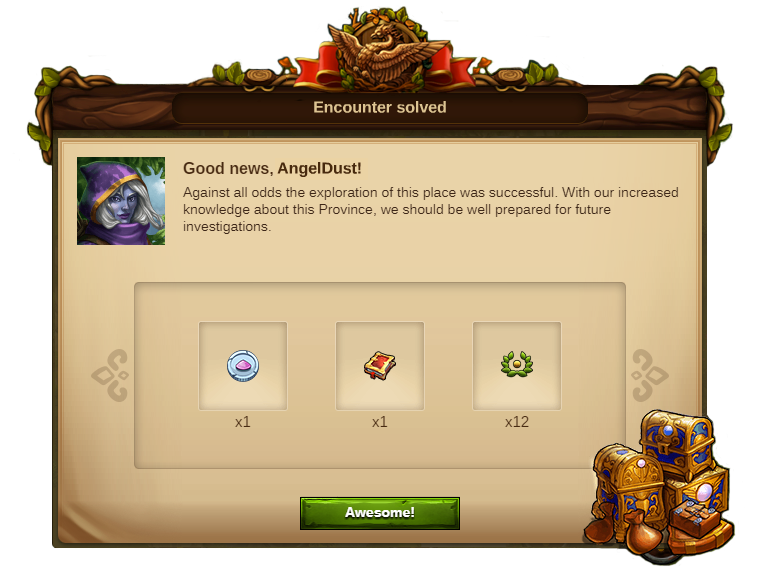
No matter how you get the Relic, it will always increase your knowledge! In other words, for every Encounter you solve, you will receive a Knowledge Point you can spend in Research Tree, to unlock technologies faster, or invest in Ancient Wonders. The World Map is a great source of knowledge, you will see!
| Hint:By collecting Relics you can also increase the production boost for your boosted Goods. |
Completing Provinces
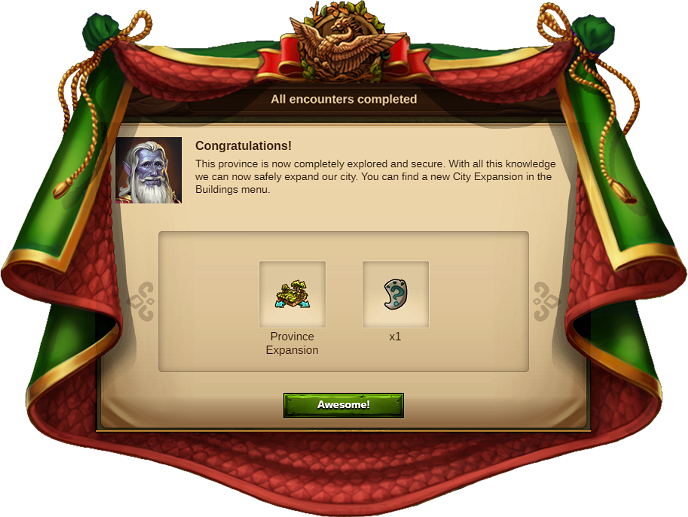
By completing Provinces you can also get additional rewards: Province Expansions and/or Rune Shards.
- You will receive a Province Expansion as a reward when you solve all encounters of a certain number of Provinces. A tooltip in the Buildings Menu, on the Province Expansion, will show you how many “Completed Provinces” you have and how many are “Required for the next Expansion.”
- After researching the first Ancient Wonders' Technology, every time you complete a province you will also get a random Rune Shard for one of the unlocked buildings, which you can find in the Ancient Wonders' Menu.
Provinces Overview
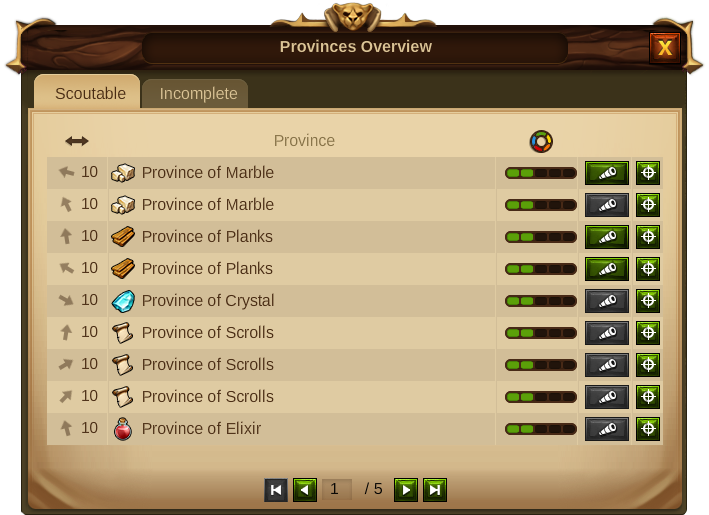
When you open the Provinces Overview, the Scoutable tab shows you:
- The direction of the Province on your map.
- The Encounter Ranking Points value.
- The type of Province (Marble, Crystal, Elixir, etc.).
- The difficulty to scout the Province: Very Easy - Very Hard.
- The Scout's Note or whether it is still locked.
You can also Navigate to each Province.
In addition, the Incomplete tab shows you:
Neighboring Cities
As said before, by exploring the World Map, you can both scout Provinces and visit every city right from the beginning!
You can take a look into other players' cities, in order to get inspiration for your own, but once you "discover" those cities, you will also be able to give them Neighborly Help.
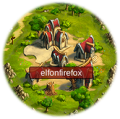
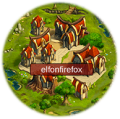
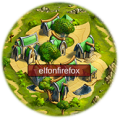
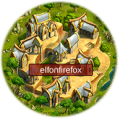
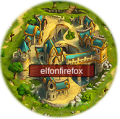
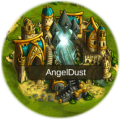
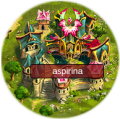
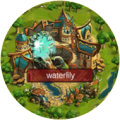
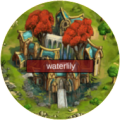
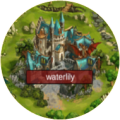
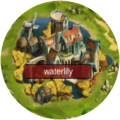
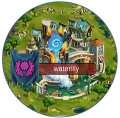
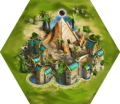
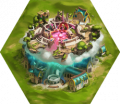
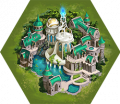
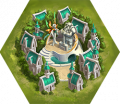
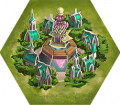
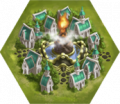
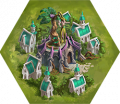
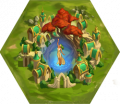
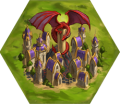
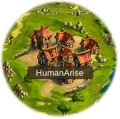
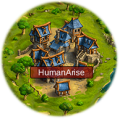
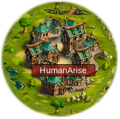
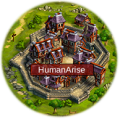
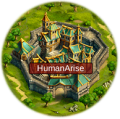
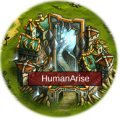
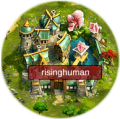
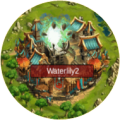
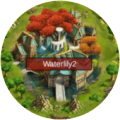
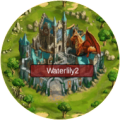
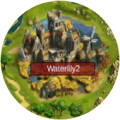
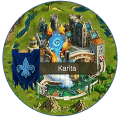
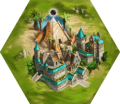
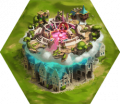
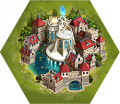
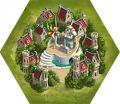
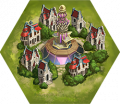
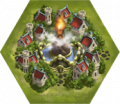
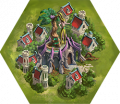
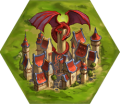
At a certain point in the game, if you take a closer look, you may notice each neighbor has a different image representing their city. This is due to the fact that, when a player reaches a new Chapter, the map reflects the city´s development.
| Cities Overview Elves | ||||
|---|---|---|---|---|
|
|
| ||
|
|
| ||
|
|
| ||
|
|
| ||
|
|
| ||
|
|
| ||
|
|
| ||
| Cities Overview Humans | ||||
|---|---|---|---|---|
|
|
| ||
|
|
| ||
|
|
| ||
|
|
| ||
|
|
| ||
|
|
| ||
|

|
| ||
Tournaments
The World Map is also the place where Tournaments take place! You can enter them only if you belong to a Fellowship. Every week, Tournament Events take place in your solved provinces of one type, which will rotate every week. This is also a great opportunity for you to get additional Relics, Knowledge Points and Rune Shards and, if you are one of the best, additional Ranking Points!
